
How to make Cream Cheese
Luscious, soft, tangy cream cheese, made in minutes with just three ingredients? Absolutely. Follow this easy recipe to learn how to make cream cheese at home.

Did you know that you can make luscious, soft, tangy homemade cream cheese, with just three ingredients? And that you probably already have these ingredients in your kitchen? You absolutely can!
Trust me when I say, once you learn how to make cream cheese, you may never go back to store-bought cream cheese again,
TABLE OF CONTENTS
▼
Homemade Cream Cheese is super cheap to make, and the flavour is rich and delicious. Ideal for your baking your next cheesecake or spreading thickly on bagels.

How do you make cream cheese at home?
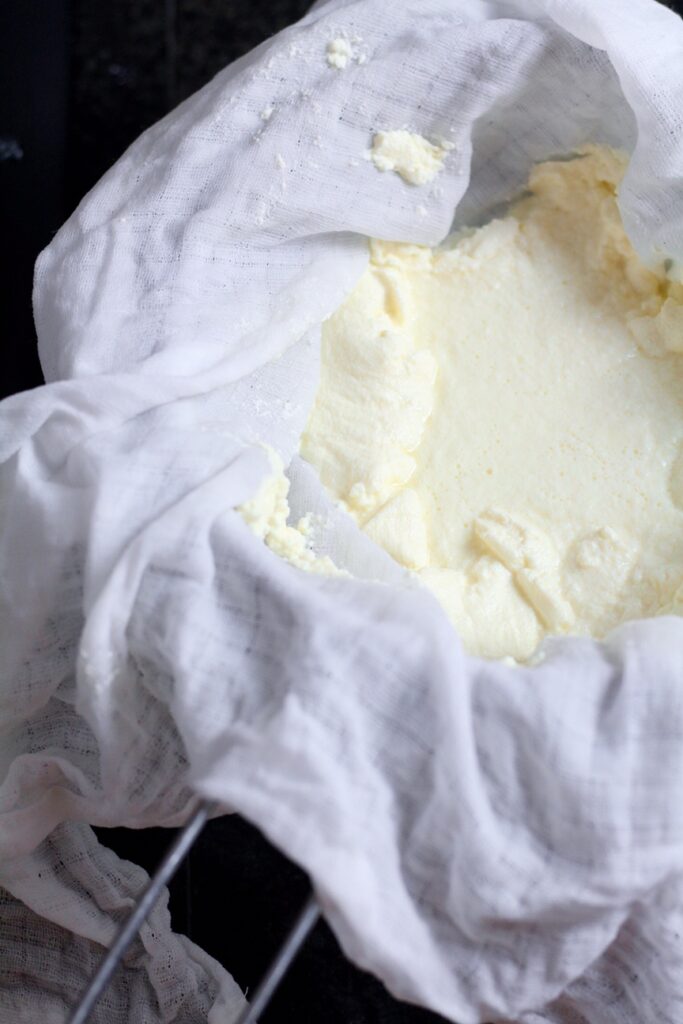
It works like this. Milk + Heat + a souring agent = Little Miss Muffet's favourite dish, curds and whey. Drain off the whey, whizz the cheese curds in a food processor until they are smooth and creamy, add salt and you're done.
30 minutes tops and you can pat yourself on the back while you enjoy your homemade cheese, made with just three ingredients and no nasty preservatives.
How do you use Homemade Cream Cheese?
After that, you can add flavourings to your heart's delight! You could:
- Add fresh herbs and smear over Homemade Sesame Bagels.
- Make a dreamy cream cheese frosting for Red Velvet Cake or Carrot Cake or Banana Cake.
- Use it in your favourite cheesecake recipe! I can highly recommend my Raspberry Jelly Cheesecake!
- Mix with Spicy Red Pepper Jelly to make the perfect party dip.
- Stir it with some Wild Garlic Pesto for a creamy treat.

One cheese, many names
This sort of soft cheese is known by loads of different names. It is similar to Indian paneer, or German Hüttenkäse (cottage cheese). The difference is that instead of being pressed (like paneer) or left as curds (Hüttenkäse/cottage cheese), it is creamed in the food processor.
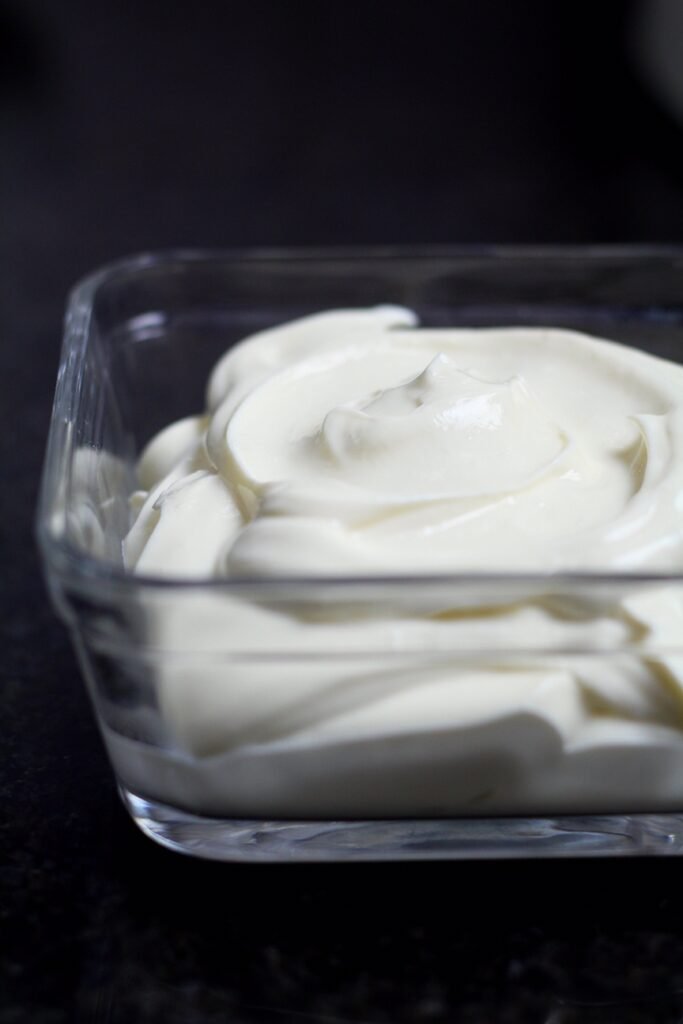
Creaming the cheese in the food processor breaks up and smooths out all the curds into a rich spreadable paste. Draining for a shorter amount of time, or adding back some of the whey while blending will result in a softer cheese.
What to do with leftover whey
On the subject of whey, don't throw it out! It's both useful and nutritious.
- Use it as a replacement for water in bread making - it makes the bread last much longer, keeping the crumb soft and tender.
- It makes a fabulous tenderiser in marinades for meat.
- Whey is full of protein, so fantastic for smoothies and shakes (great for gym bunnies, just freeze it into ice cubes and throw it in the blender)
- You can even use it as a toner for your skin and hair (yes, truly!)
Whey will keep several days in a covered container in the fridge so you don't have to use it right away.
Now that you've leant how to make cream cheese, why not try out my recipe for Sesame Bagels! Or whip up some frosting for my Spiced Carrot Cake Loaf? There are so many great cream cheese recipes out there!
FREQUENTLY ASKED QUESTIONS
Can I use skim milk to make cream cheese?
You can, but it will drastically reduce the amount of cheese you get at the end. Use full cream milk for best results.
What can I substitute for citric acid?
You can substitute the citric acid with 2 tablespoon of lemon juice or 2 tablespoon white vinegar. Citric acid will give the most neutral result in the end cheese. Look for it in the baking aisle if you are having trouble finding it at the supermarket.
How long does this cheese last?
This is a fresh cheese in style, rather than an aged cheese. That means as long as all your dishes and containers are clean, the cheese will last around 5-7 days in a covered container in the fridge.
Can I double this recipe for homemade cream cheese?
Absolutely! Just double all ingredients.
Can I use Heavy Cream to make cream cheese?
Wow, very luxurious! Yes you can, and what you will have made is a delicious Italian mascarpone cheese! You can use this in my Cherry Honey Mascarpone Tart, Mascarpone Stuffed White Wine Pears, or a classic Italian tiramisu! Yum!
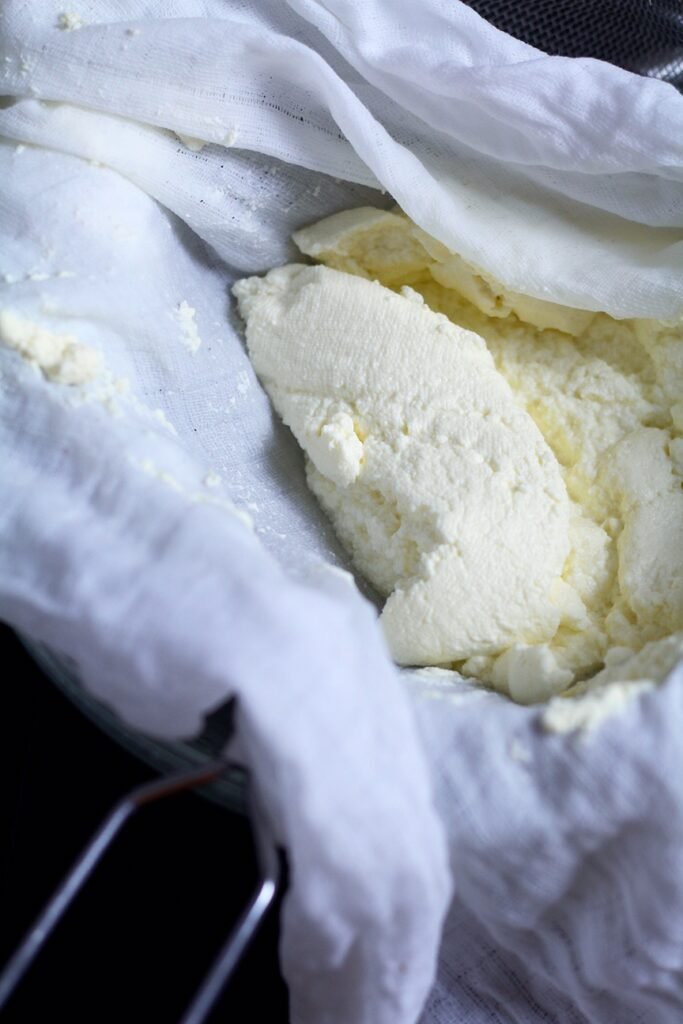
Make sure all your pots and utensils are extra clean, that way the cheese will last longer.


Homemade Cream Cheese
Luscious, soft, tangy cream cheese, made in minutes with just 3 ingredients? Absolutely. Follow this easy recipe to learn how to make cream cheese at home.
Ingredients
- 1 litre full cream milk
- ½ teaspoon citric acid, dissolved in 50ml (3 Tbsp) of hot water
- ½ teaspoon sea or kosher salt
Instructions
- HEAT THE MILK: In a large saucepan, heat the milk on a medium setting until it is nearly simmering, stirring to stop the milk from catching. The milk is ready when tiny bubbles start to form around the outside of the pot.
- ADD ACID: Stir in the citric acid, lemon juice or vinegar, and continue to heat, stirring gently, until the curds separate from the whey, clumping on the surface with the greenish whey liquid underneath. Turn off the heat and allow to sit for five minutes, while you line a sieve with the cheesecloth or muslin and place it over a large mixing bowl to catch the whey.
- DRAIN: After five minutes, carefully pour the curds and whey into the sieve, then allow to drain and cool for 10-15 minutes. 10 minutes will give a softer set, while 15 minutes will be firmer after chilling.
- SALT AND PROCESS: When the curds have cooled, scrape into the bowl of a food processor. Add ½ a teaspoon of salt and process until the cheese is soft and creamy, and not at all grainy. This will take around 2-3 minutes, and you should stop halfway to scrape down the sides of the food processor bowl.
- SEASON TO TASTE: Taste the cream cheese and add a pinch more salt if you think it needs it, processing again to combine. If the cheese is crumbly and refusing to come together, add a tablespoon of the reserved whey to loosen.
- CHILL: The cream cheese will be very soft, but it will firm up in the fridge. Transfer to a small container with a lid and refrigerate until ready to use - this sort of cheese will last 5 days in the fridge.
Notes
- If you can't get citric acid, use either: 2 tablespoon lemon juice or 2 tablespoon white vinegar and omit the additional water.
- You will need cheesecloth, muslin or a clean cotton tea towel rinsed out in hot water to drain the cheese.
Recommended Equipment
As an Amazon Associate and member of other affiliate programs, I earn from qualifying purchases.
Nutrition
Serving: 2tablespoon | Calories: 31kcal | Carbohydrates: 2g | Protein: 2g | Fat: 2g | Saturated Fat: 1g | Polyunsaturated Fat: 0.1g | Monounsaturated Fat: 0.4g | Cholesterol: 6mg | Sodium: 79mg | Potassium: 77mg | Sugar: 2g | Vitamin A: 84IU | Calcium: 63mg | Iron: 0.001mg
Tried this recipe?I'd love to hear how it went! Please leave a review or a star rating and let me know how it was! Use the hashtag #daysofjay on Instagram so I can see your delicious creations.


About the Author
Jay Wadams is a cookbook author, food photographer, and graduate of Le Cordon Bleu in Gastronomy and Nutrition.
Based in Italy 🇮🇹 Germany 🇩🇪 and Australia 🇦🇺.



Citric acid is the way to go. That's a regular staple in my kitchen since it has so many uses. I buy it by the pound or more. It's also what I use for making sour cream. I need to get busy and make some cream cheese. Someone gave me some smoked salmon and I want to make a spread. Cream cheese is so much better without the guar, xanthan, and carob bean gums. Thanks!
I agree!! Citric acid is definitely the best and so useful! J.
Can you use canned milk?
Hi there, I’m not sure if canned milk is suitable for this recipe as it has usually been highly heat treated. I recommend using fresh full cream milk for best results. J.
I have used evaporated milk to make sour cream. It comes out like more of a crema. I also use it when making no-churn ice cream with added butter. I think about 16 years ago I made some cream cheese using evaporated milk and it came out pretty good. I think I added some butter as the milk was heating. I should have written it down. So now it's making me curious to try it again. I'll post the results.
Can you use this after chill 1hr in fridge,.Same Day?
Hi Peggy! Yes, you can use this cheese after one hour in the fridge, the longer you leave it to chill the firmer the cheese will set. Have a lovely weekend! J.
I was given 2 gallons of 2% milk, and with only 2 adults in the house, It would have gone to waste. Tried this and used up a gallon. Easy and delicious. Sharing.
Hi Denise! What a fantastic way to use up all that milk before it spoiled! I’m so happy you enjoyed this recipe and thank you so much for your lovely comment and sharing the recipe with others! 🙂 J.
can i use a coffee filter instead of cheesecloth?
Hi Ruth! A coffee filter won’t work very well in this case as they are too fine. You can also use a clean cloth (like a dish drying cloth or an old, clean t-shirt). I’d pour boiling water over the cloth first to sterilise. J.
What a great recipe to replace store bought! Turned out great and will now use it in my recipes! Thank you Jay for another great recipe!