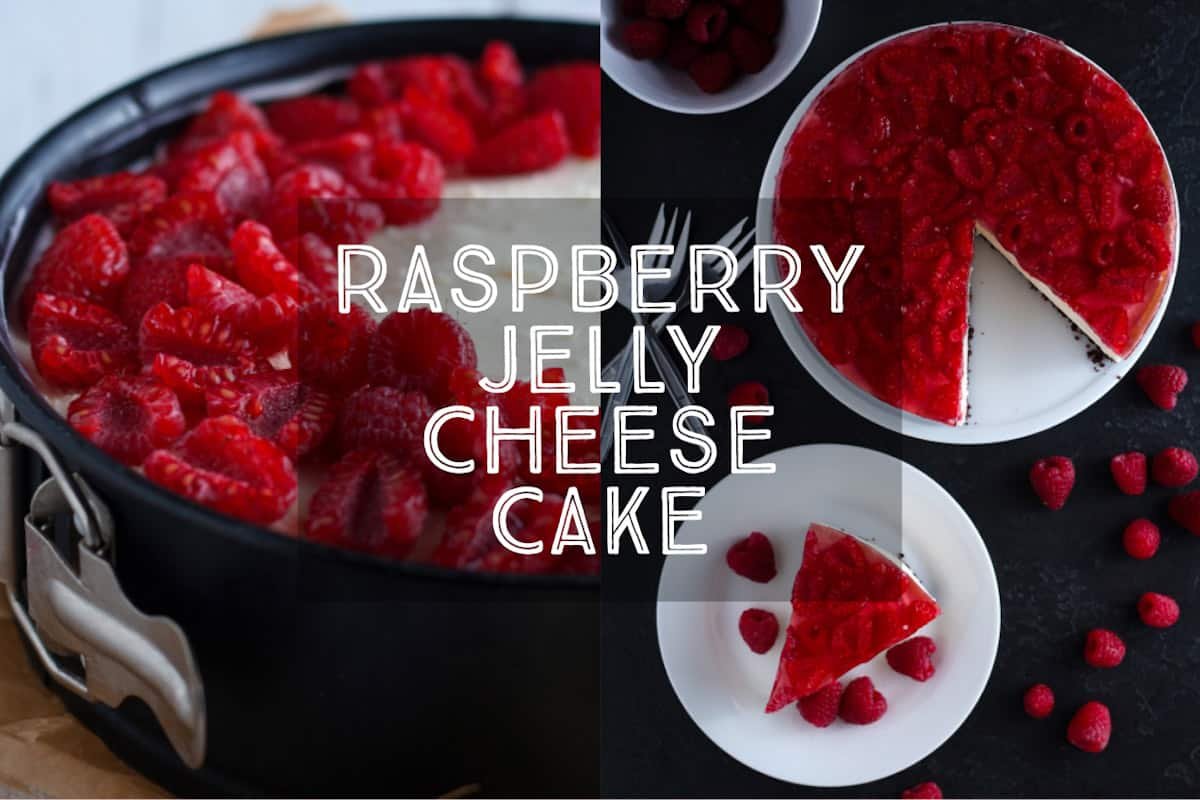
Raspberry Jelly Cheesecake
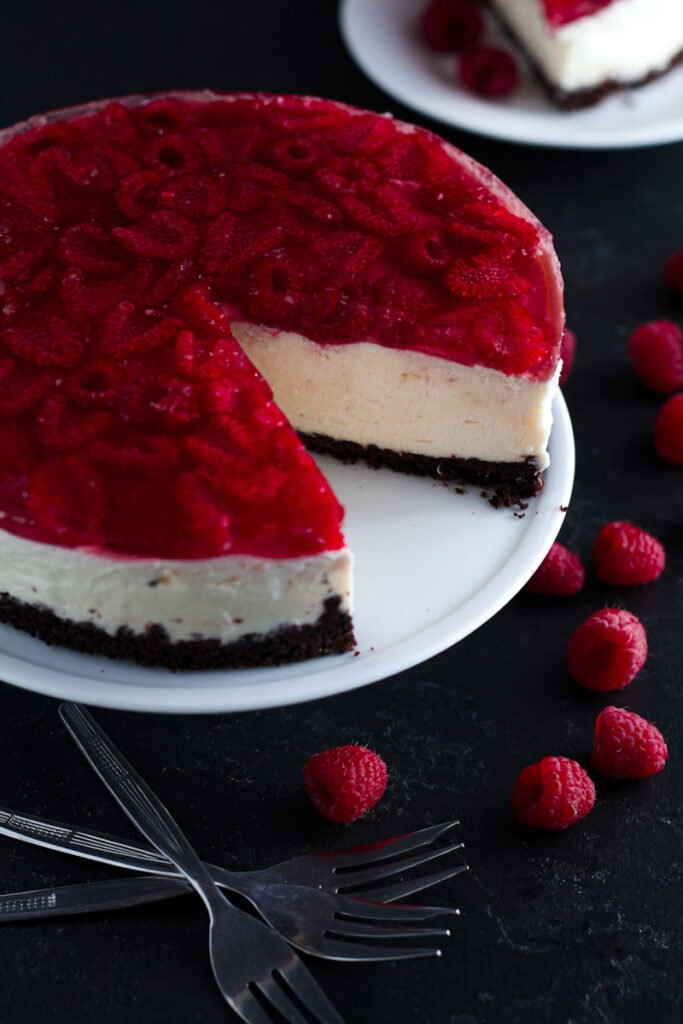
With a dark chocolate base, tangy cream cheese filling and a topping of raspberries in a jewel-like jelly, Raspberry Jelly Cheesecake is a showstopper of a dessert and the perfect way to make the most of in-season raspberries.
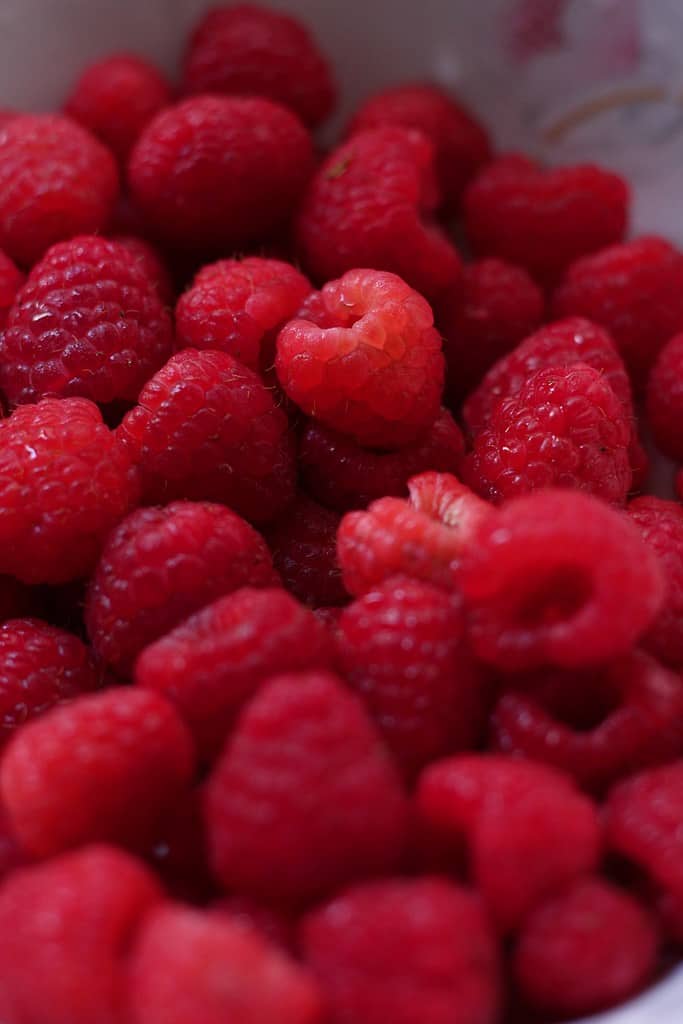
While beautiful raspberries are still in season I have to share with you my Raspberry Jelly Cheesecake recipe. This is a showstopper of a dessert which I always think of as a Snow White Cheesecake – raspberries as red as blood, creamy filling as white as snow and a dark chocolate base as black as ebony. A cake straight out of a fairytale.
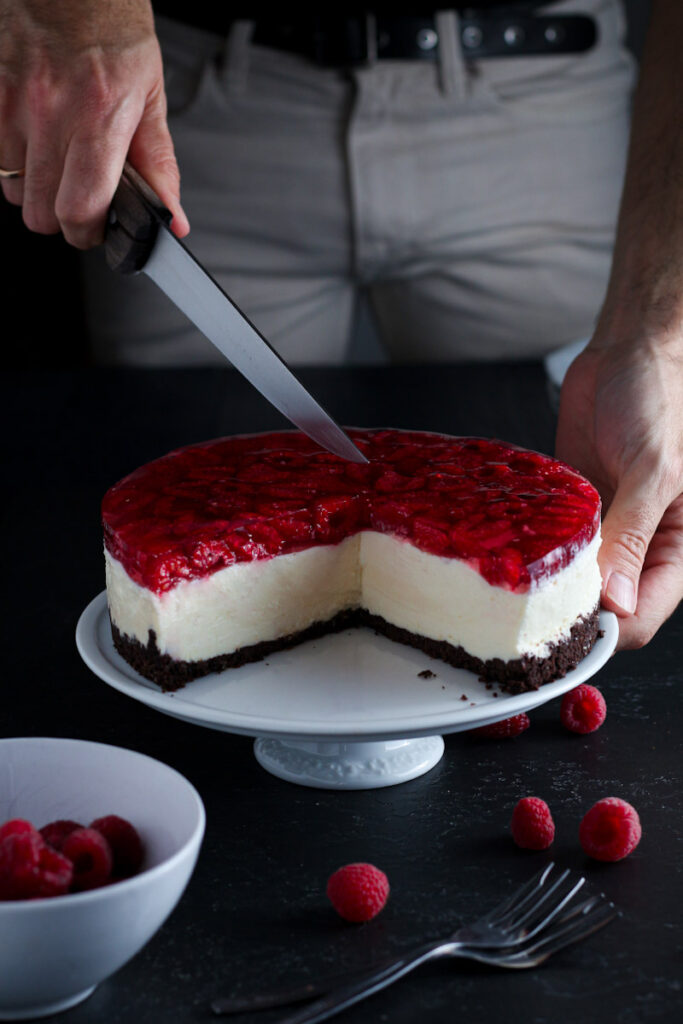
TABLE OF CONTENTS
▼
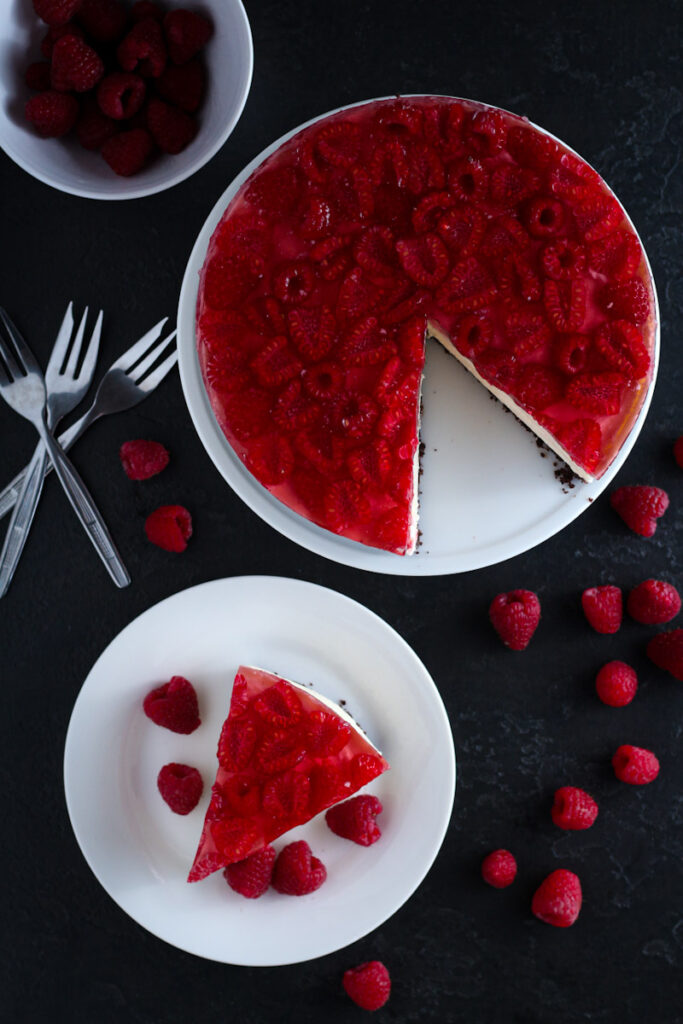
This is one delicious cheesecake!
And it is so easy to make. I always think the hardest thing about making a cheesecake is waiting around for it to set up enough to slice – am I right? If you have been cooking along with me for a while you will know I love all things jellied, and the homemade raspberry jelly is the secret to the beautiful jewel-like topping on the cheesecake.
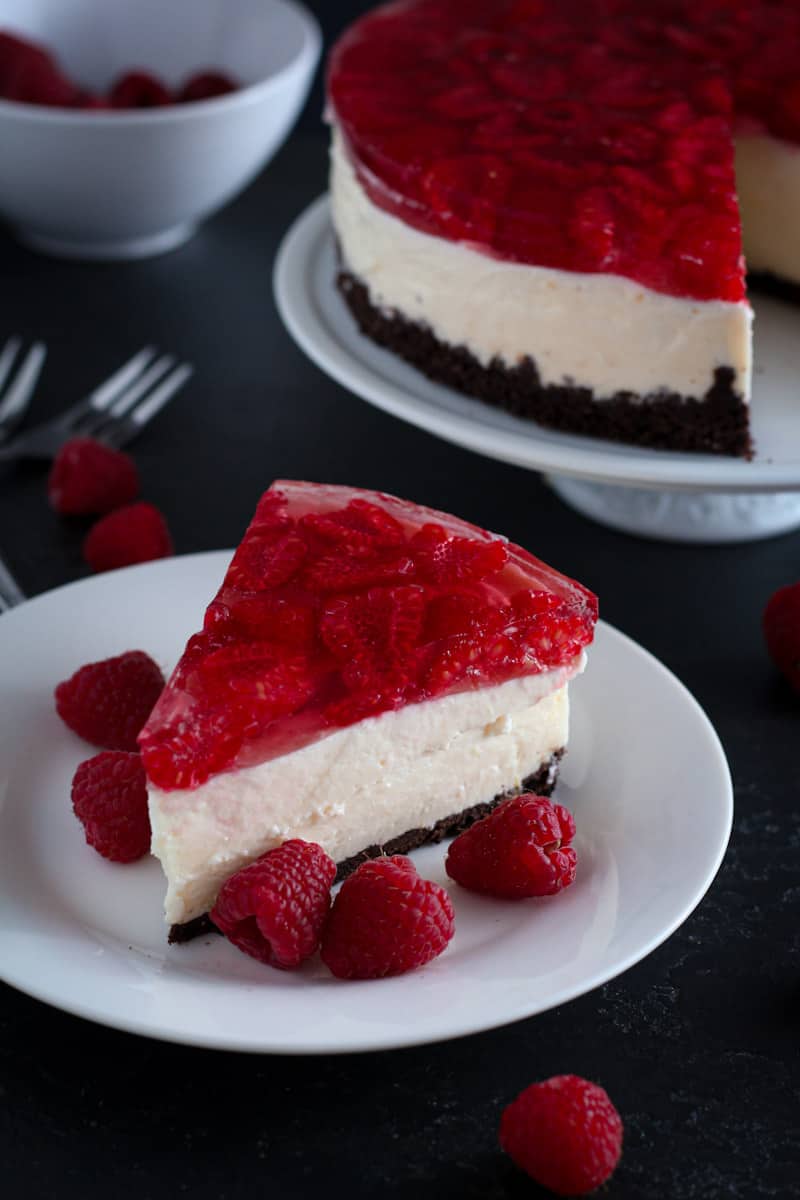
Nearly No Bake
While there is a time and place for crushed biscuit bases, you’ll get a much superior result by making your very own dark chocolate crust, it’s easy I promise! As an added bonus, you won’t be cooking with palm oil, glucose-fructose syrup or any of the strange ingredients found in factory-made chocolate biscuits.
use the right Cream Cheese!
With an unbaked cheesecake filling it is so important to use blocks of full-fat cream cheese. No ‘lite’ versions or cream cheese spread. They won’t set (same goes for cream cheese frosting) and you’ll be looking at a whole lot of cheesecake disappointment. Trust me on this, use the good stuff.
Gelatine Is Important
I use gelatine in both the filling and the topping of this cheesecake. In the filling, it stabilises everything and gives the cheesecake its beautifully light, marshmallowy texture. The gelatine in the topping is for the wow-effect jelly – it also helps to preserve the raspberries, stopping them from drying out.

Fruit Variations
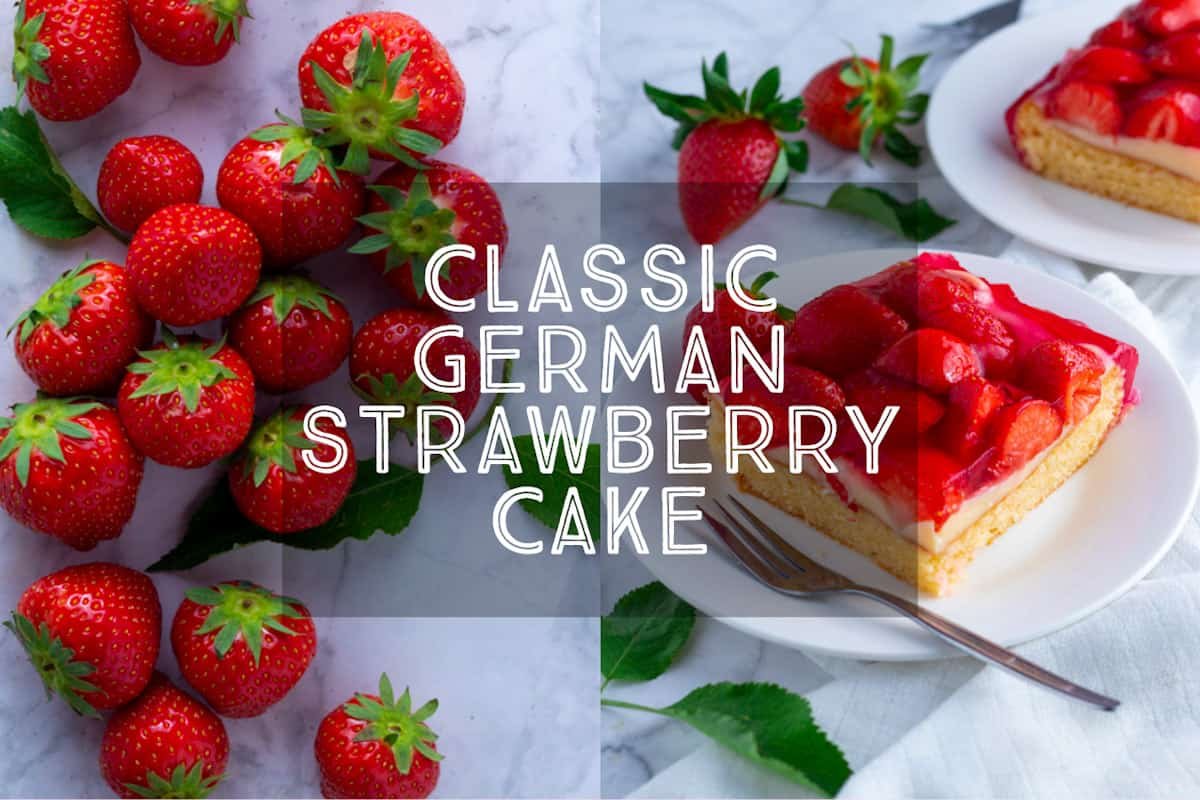
If raspberries are out of season or just too expensive where you are, this cheesecake also works beautifully with strawberries. You could even consider well-drained tinned fruit like peaches or cherries. Be sure to use a matching fruit juice colour to the fruit you choose. Be aware that fruits like pineapple, kiwi and papaya have enzymes that stop jelly setting.

FREQUENTLY ASKED QUESTIONS
Can I make Raspberry Jelly Cheesecake without gelatine?
Gelatine is what stabilises cheesecakes and makes them able to be cut. I haven’t yet made this recipe with agar agar but I am currently experimenting! If you want to make cheesecake without gelatine I would suggest making individual portions in glasses or bowls. You can make a gelatine free topping by following the instructions u003cstrongu003eu003ca href=u0022https://daysofjay.com/2019/04/04/classic-german-strawberry-cake/u0022 data-type=u0022postu0022 data-id=u00221599u0022u003ein this recipe.u003c/au003eu003c/strongu003e
Can I make Raspberry Jelly Cheesecake gluten-free?
Yes! Simply swap out the flour in the recipe for your favourite gluten-free blend.
Can I make this recipe with a crushed biscuit base instead?
Yes, but I urge you to make this easy homemade base instead. Storebought biscuits, especially very dark chocolate ones are often full of odd ingredients. If you really want to use Oreo’s or similar, crush u003cstrongu003e150g of biscuitsu003c/strongu003e and stir through u003cstrongu003e75g of melted butteru003c/strongu003e. Press into the tin and chill before proceeding with the recipe.

Raspberry Jelly Cheesecake
With a dark chocolate base, tangy cream cheese filling and a topping of raspberries in a jewel-like jelly, Raspberry Jelly Cheesecake is a showstopper of a dessert and the perfect way to make the most of in-season raspberries.
Ingredients
for the base:
- 125 g plain flour
- 75 g unsalted butter
- 50 g granulated sugar
- 25 g unsweetened cocoa
- 1 large egg, beaten
for the filling:
- 4 sheets gelatine
- 500 g full-fat cream cheese, room temperature (important!)
- 150 g granulated sugar
- 25 ml lemon juice
- 2 tsp vanilla extract
- zest of one lemon
- 200 ml heavy whipping cream
for the jelly topping:
- 3 sheets gelatine
- 100 ml cranberry juice
- 50 g granulated sugar
- 200 g fresh raspberries
Instructions
- PREPARE: Heat the oven to 180°C / 350°F Gas4. Line the bottom a 20cm / 8 in. round springform tin with baking paper. Set aside while you prepare the chocolate biscuit base.
- MAKE THE BASE: In the bowl of a food processor, process the flour, butter, sugar and cocoa until they resemble fine crumbs. Add the egg and pulse until the mixture is dark and crumbly. Pour the crumbs into the prepared springform, spreading them evenly across the base. Press them down firmly, then bake in the preheated oven for 15 minutes. Set aside to cool.
- SOFTEN THE GELATINE: Place the gelatine sheets in a shallow bowl, cover with cold water and allow to soften for 5 minutes. Heat 50ml water in a small saucepan, pick up the gelatine sheets one by one, giving them a good squeeze to get rid of excess water, then stir them into the hot water until dissolved. Remove from the heat and set aside until cool.
- MAKE THE FILLING: In a large mixing bowl, beat together the room-temperature cream cheese, sugar, lemon juice, vanilla extract and lemon zest until smooth. Quickly whisk in the gelatine mixture, ensuring it is evenly distributed. In a separate bowl, whisk the cream to soft peaks, then use a spatula to fold the cream under the cheese mixture, gently but thoroughly, keeping as much air in the mixture as possible. Pour the mixture over the cooled base, smooth over the surface, then chill for at least 2-3 hours until set and firm.
- MAKE THE JELLY TOPPING: To make the jelly, soak the gelatine sheets in a bowl of cold water for 5 minutes. Meanwhile, heat the cranberry juice with 150ml water and the sugar in a small saucepan, stirring until the sugar is dissolved. Squeeze the liquid out of the gelatine sheets and stir into the juice until dissolved then remove from the heat and allow to cool. (see notes).
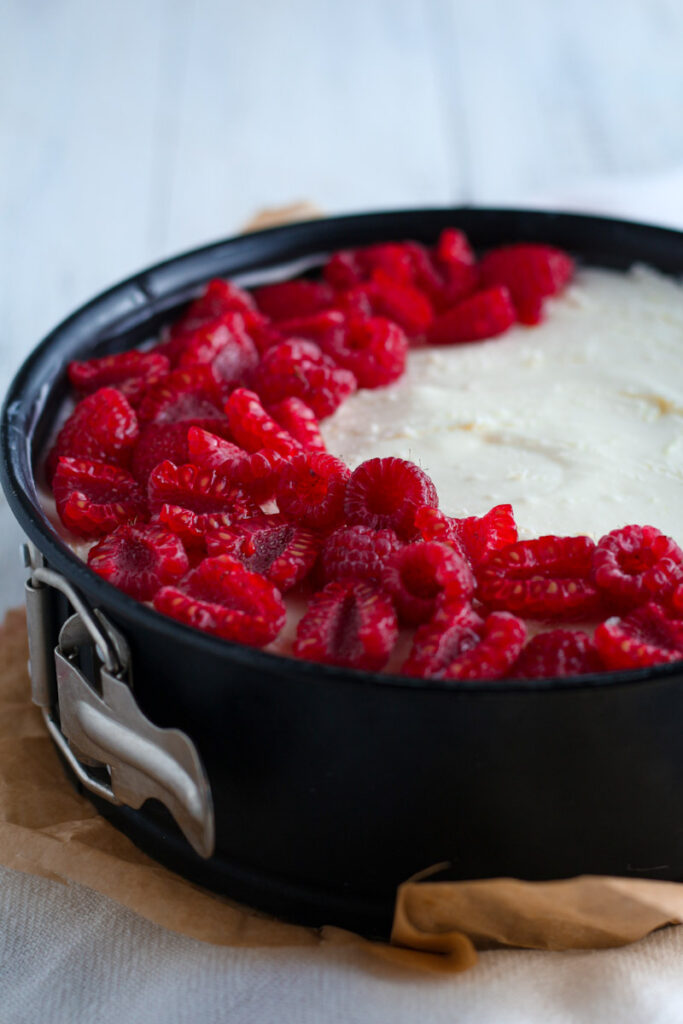
- ASSEMBLE THE TOPPING: While the jelly is cooling, slice the raspberries in half and press gently onto the top of the cheesecake. When the jelly mixture is cool, pour half of it very carefully over the cheesecake – you may find it useful to pour onto a back of a spoon so as not to disturb the surface of the cake. Return to the fridge for 10 minutes, then pour the remainder of the jelly mixture evenly over the top.
- ALLOW TO SET: Allow the cheesecake to set for a minimum of 6-8 hours in the fridge (this includes the initial setting time). Depending on how cold your fridge is, it may need longer to properly firm up, so leaving it in there overnight is ideal.
Notes
- If you can only get powdered gelatine sprinkle 3 level teaspoons over 50ml of cold water in a small saucepan. Allow to bloom 5 minutes, then heat gently, stirring until dissolved, before continuing with the recipe. If it is particularly hot where you are, or the cheesecake will sit around in the warm for a while before eating, consider adding an additional sheet or spoon of gelatine to the cheese mixture, the top jelly should be fine.
- If you’d like the jelly to set faster (and I often do), pour the jelly mixture into a heatproof bowl, then place it in a sink full of cold or iced water, stirring occasionally until it has begun to thicken and chill. It will set much faster when poured onto the chilled cake.
As an Amazon Associate and member of other affiliate programs, I earn from qualifying purchases.
Nutrition
Serving: 1slice | Calories: 592kcal | Carbohydrates: 54g | Protein: 9g | Fat: 40g | Saturated Fat: 24g | Polyunsaturated Fat: 2g | Monounsaturated Fat: 10g | Trans Fat: 0.3g | Cholesterol: 132mg | Sodium: 217mg | Potassium: 234mg | Fiber: 3g | Sugar: 37g | Vitamin A: 1488IU | Vitamin C: 9mg | Calcium: 98mg | Iron: 2mg
Tried this recipe?I’d love to hear how it went! Please leave a review or a star rating and let me know how it was! Use the hashtag #daysofjay on Instagram so I can see your delicious creations.

About the Author
Jay Wadams is a cookbook author, food photographer, and graduate of Le Cordon Bleu in Gastronomy and Nutrition.
Based in Italy 🇮🇹 Germany 🇩🇪 and Australia 🇦🇺.